 Save
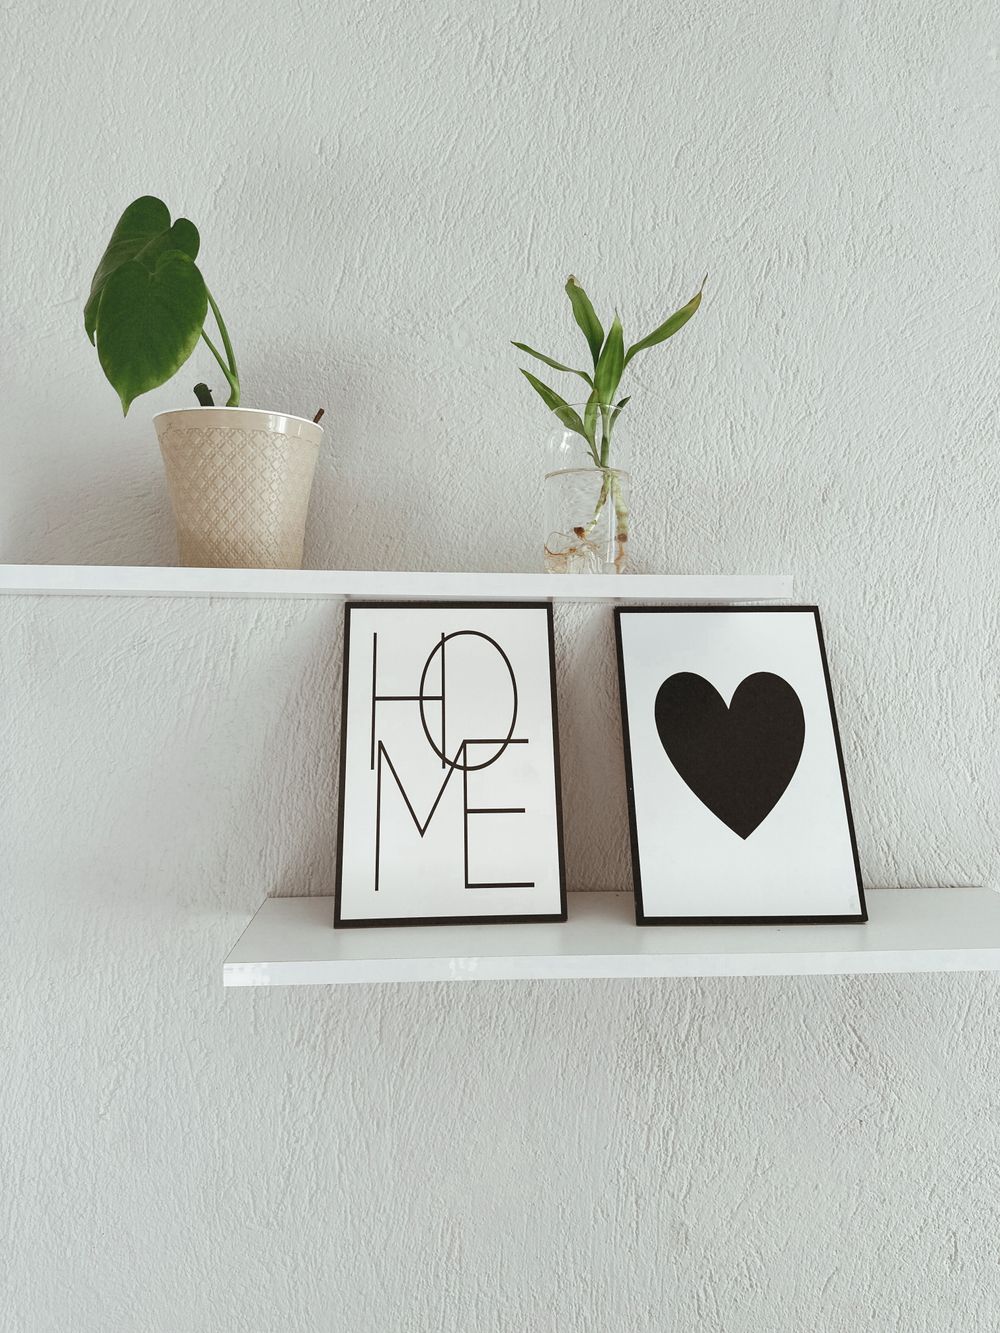
SaveFloating shelves look like magic: a plank on a wall with nothing holding it up. That illusion is also why so many of them end up on the floor with the books that were on them.
The physics is unforgiving, but simple — and once you understand it, building one that holds 50 pounds or more is a two-hour project with hardware from any home center.
Why floating shelves fail
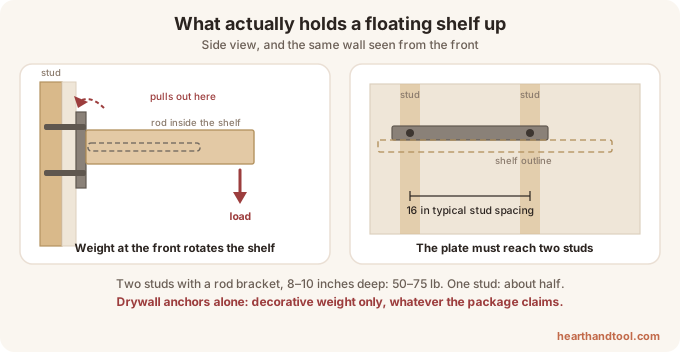
A shelf sticking out from a wall is a lever. Weight sitting near the front edge doesn't just pull down — it tries to rotate the shelf, which yanks the top fasteners straight out of the wall. That outward pull is the weakest direction for drywall by a wide margin.
Two consequences follow, and they decide the whole project:
- Deeper shelves are dramatically harder to support. A 12-inch-deep shelf generates far more leverage than a 6-inch one with the same load. If you want depth, you need studs.
- Drywall anchors alone are not an option for anything you'd call a real shelf. They're fine for a 5-pound decorative ledge holding two candles. They are not fine for books, dishes or a stack of records.
What actually holds it up
 Save
SaveThe hardware that works is a floating shelf bracket: a steel back plate with two or more thick rods welded to it, sticking straight out. The plate screws into studs; the rods slide into holes bored in the back of the shelf. Load transfers through the rods into the framing.
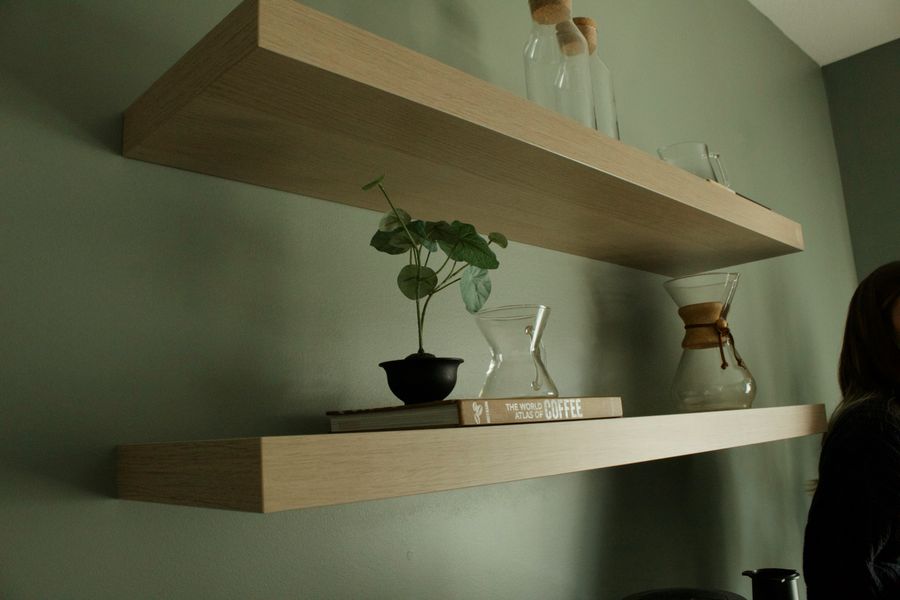
Buy a bracket rated well above your intended load, and check that the rod diameter matches your shelf thickness — a 3/4-inch rod needs a shelf at least 1.5 inches thick, which usually means gluing two boards together or buying a solid "chunky" shelf blank.
The alternative, and the cheapest strong option, is a wood cleat: a 2×2 screwed into the studs with a hollow box shelf built around it. Less elegant to build, just as strong, and about $10 in lumber.
Build it: step by step
 Save
Save- Find and mark your studs. Use a stud finder with AC detection, then confirm by driving a small nail. Your shelf must span at least two studs — that dictates a minimum length of about 20 inches for 16-inch stud spacing.
- Choose the depth honestly. For a shelf carrying books, 8–10 inches deep on a two-stud bracket is the sweet spot. Deeper than 12 inches, add a third stud.
- Mark and level the bracket. Hold the plate against the wall, level it, and mark the screw holes that land on studs. Ignore the ones that don't — a screw into empty drywall contributes nothing.
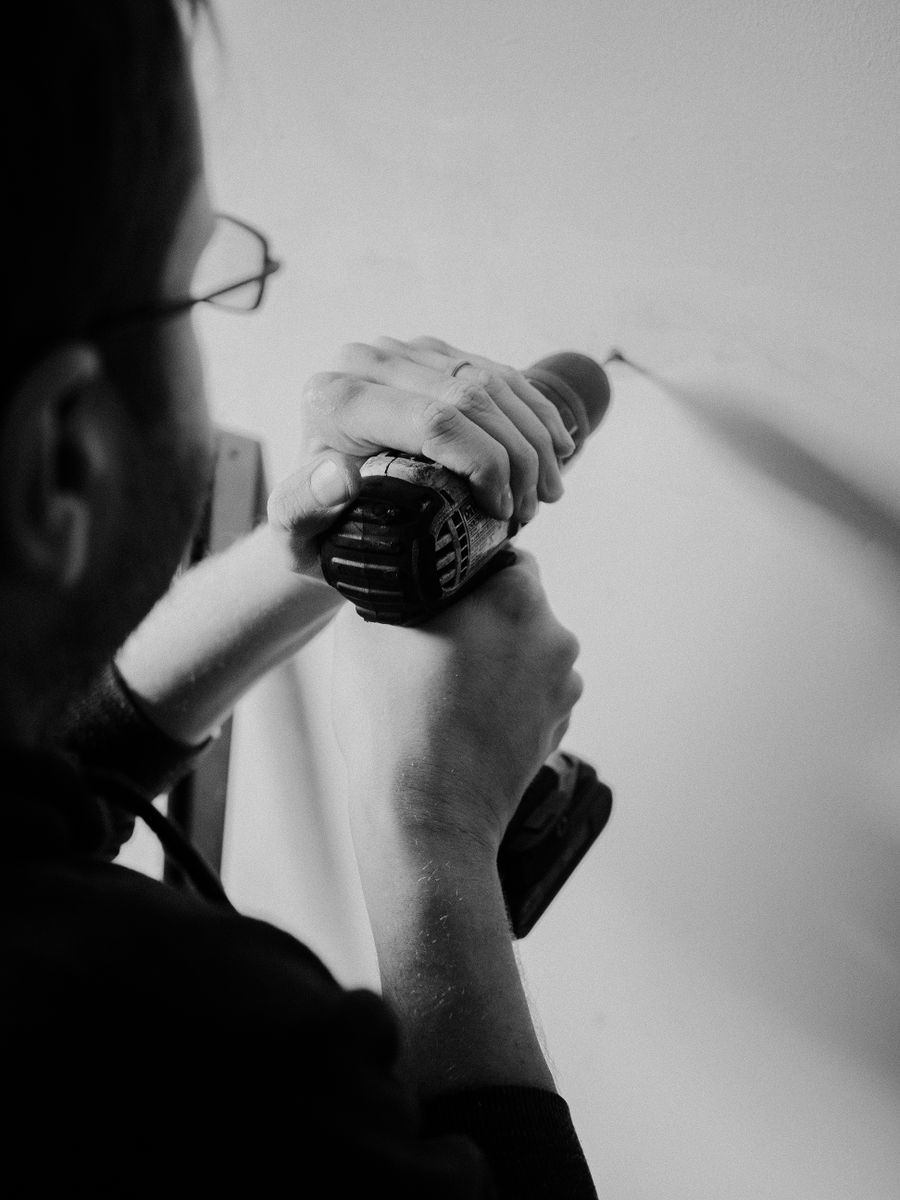
- Drill pilot holes into the studs (about 1/8 inch for typical lag screws), then drive the lag screws until the plate is tight against the wall and does not move when you push it.
- Bore the shelf. Mark rod positions by holding the shelf against the installed rods, then drill holes slightly larger than the rods and about 1/2 inch deeper than the rod length. Drill straight — a drill guide or a helper watching from the side is worth the trouble.
- Slide it on and secure it. Tap the shelf onto the rods with a rubber mallet. Most brackets include a set screw underneath; tighten it so the shelf can't be pulled off.
 Save
SaveWhat it will actually hold
With a proper two-rod bracket lagged into two studs and an 8–10 inch shelf, 50–75 pounds is realistic — that's a solid run of hardcover books. On a single stud, halve it. On drywall anchors alone, assume decorative weight only, no matter what the package claims.
The load test: before you fill it, press down hard on the front edge with both hands and lean into it. If there's any flex at the wall or the plate shifts, stop and fix the mounting. Better to find out now.
The finishing touches that make it look bought
- Sand to 180-grit and ease the front edges slightly — sharp corners look homemade.
- Two coats of finish on all six faces, including the back and the underside; sealing only what you can see makes the board cup over time.
- Check level again after loading. Wood settles, brackets don't.
Not sure what's behind your wall or which fastener to use? Start with our anchor guide by weight.