 Save
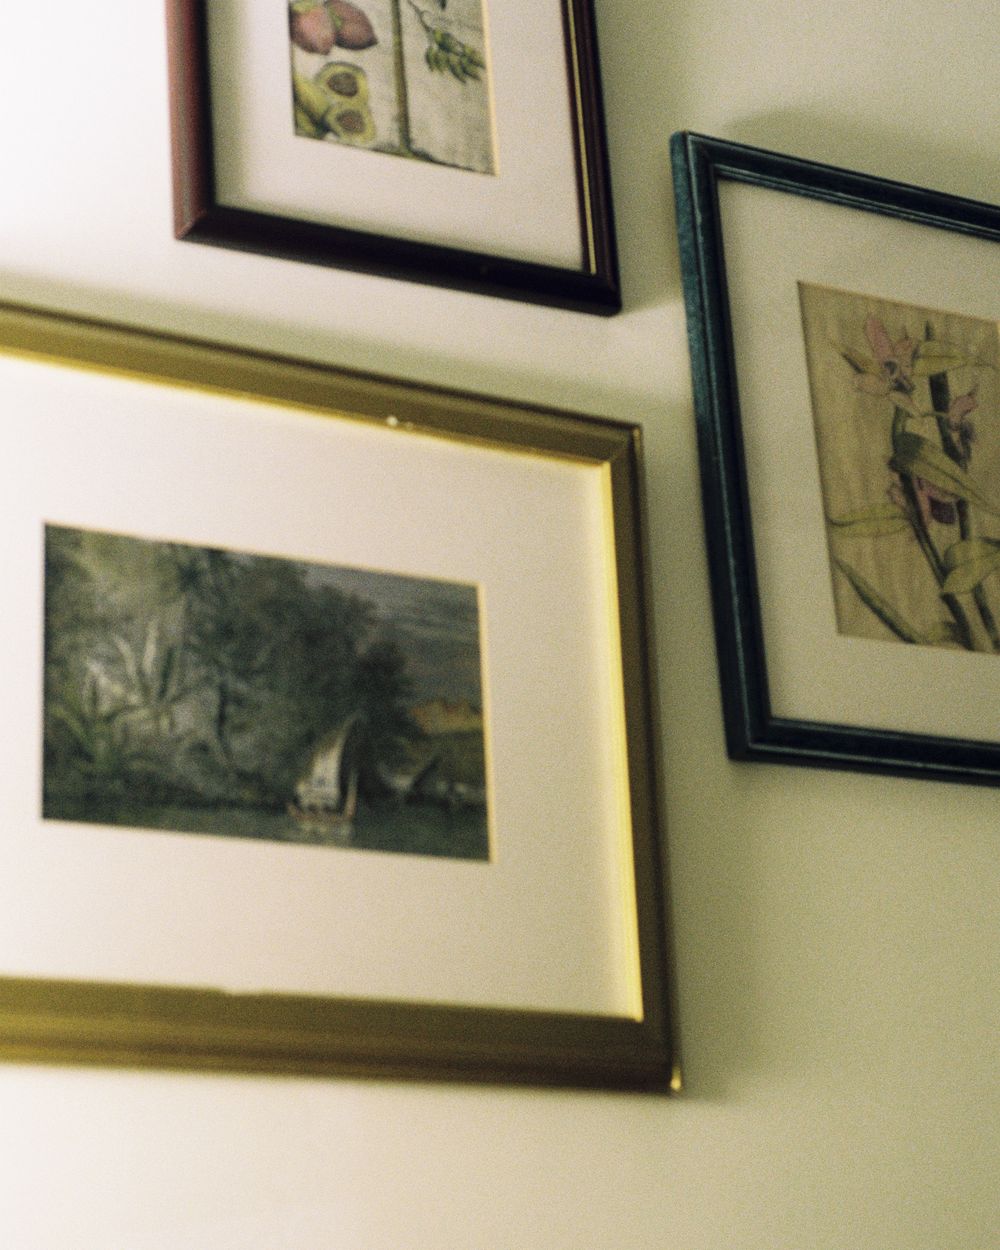
SaveA gallery wall is the cheapest way to make a room look finished, and the fastest way to fill a wall with holes if you improvise.
The whole trick is that you do the arranging on the floor and on paper, and only pick up the drill once. Here's the method.
The two measurements that decide everything
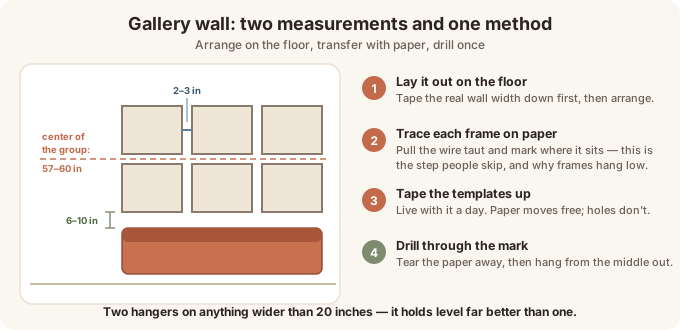
Center height: 57–60 inches. Museums hang art so its center sits at average eye level, around 57 to 60 inches from the floor. For a gallery wall, that number applies to the center of the whole arrangement, not each frame.
The exception: art hung above furniture. There, the bottom of the lowest frame should sit 6 to 10 inches above the sofa or headboard — close enough that the two read as one group.
Spacing between frames: 2–3 inches. Consistent spacing is what separates "designed" from "scattered." Two inches for smaller frames, three for larger ones — and use the same gap everywhere, including between different sizes.
 Save
SavePick a layout before you pick frames
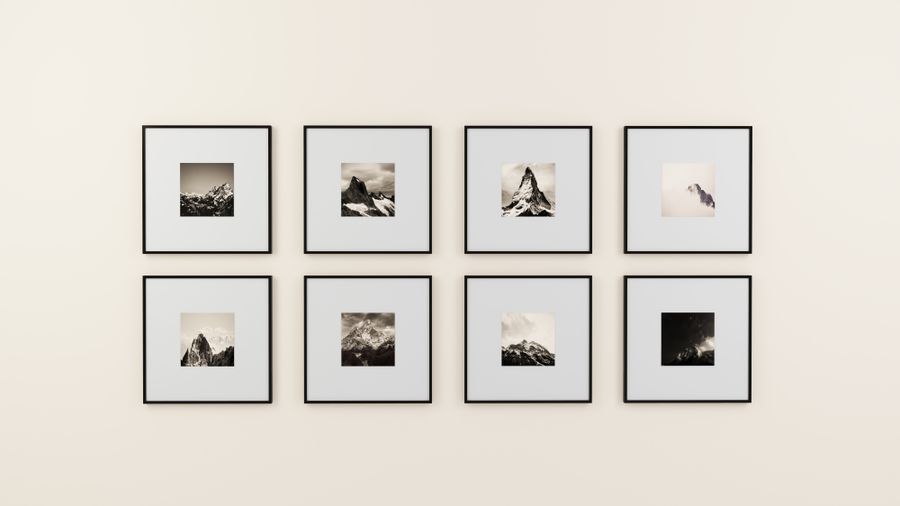
- Grid — identical frames, equal spacing. Formal, calm, and the most forgiving of a beginner because every measurement repeats.
- Salon style — mixed sizes around a central anchor piece. Looks casual, is actually the hardest; it needs a strong center and consistent gaps.
- Linear — one row at a single center line. Perfect for hallways and above long sofas.
- Two-row band — two aligned rows, treated as one rectangle. Good over a sofa when you have many small pieces.
Whatever you choose, the arrangement should form a recognisable overall shape — a rectangle or a clean oval. Arrangements that fail almost always have a lumpy silhouette.
The method that prevents wrong holes
- Lay it out on the floor first. Use the exact wall width, marked with tape on the floor. Move frames around until the outline reads as one shape. Photograph it so you can rebuild it.
- Trace every frame onto kraft or newspaper and cut out the templates.
- Mark the hanger point on each template. Pull the wire taut on the back of the frame, measure from the top edge of the frame down to the wire, and transfer that distance onto the template. This is the step people skip and the reason frames end up an inch low.
- Tape the templates to the wall with painter's tape. Step back. Live with it for a day if you can — this is free, and moving paper is a lot cheaper than moving holes.
- Drill through the template mark, then tear the paper away.
- Hang from the middle out, checking level as you go.
 Save
SaveThe right hardware (this is where they fall)
Frame weight decides the fastener, and most gallery walls are light enough to be easy:
- Under 5 lb — a simple picture hook with a thin angled nail, or an adhesive strip.
- 5–25 lb — a threaded drywall anchor.
- Heavier or oversized pieces — hit a stud, or use a toggle. The full breakdown is in our anchor guide by weight.
Two habits that prevent disasters: use two hangers per frame on anything wider than about 20 inches — it holds level far better than one — and never drill directly above or below an outlet, where wiring runs vertically.
Keeping it straight, and keeping it straight later
A 24-inch level across the tops of adjacent frames is enough; you don't need a laser. For the long run, a small square of museum putty under each bottom corner stops frames from drifting crooked every time a door slams — it's a couple of dollars and it's the reason professionally installed frames stay put.
If you rent
Everything above works with adhesive strips instead of nails for lighter frames, and the paper templates matter even more, because you get one chance to place a strip. Pull strips off slowly, straight down, and see the renter notes in our renter-friendly upgrades guide for the wall-safety checks.
 Save
SaveCommon mistakes
- Frames too small for the wall. A gallery should cover roughly two-thirds the width of the furniture below it. Undersized art floating on a big wall is the most common error.
- Hanging too high. When in doubt, lower. Almost everyone hangs art too high.
- Mixing too many frame styles. Vary the sizes freely, but keep frames to one or two finishes so the eye reads the group as one object.