 Save
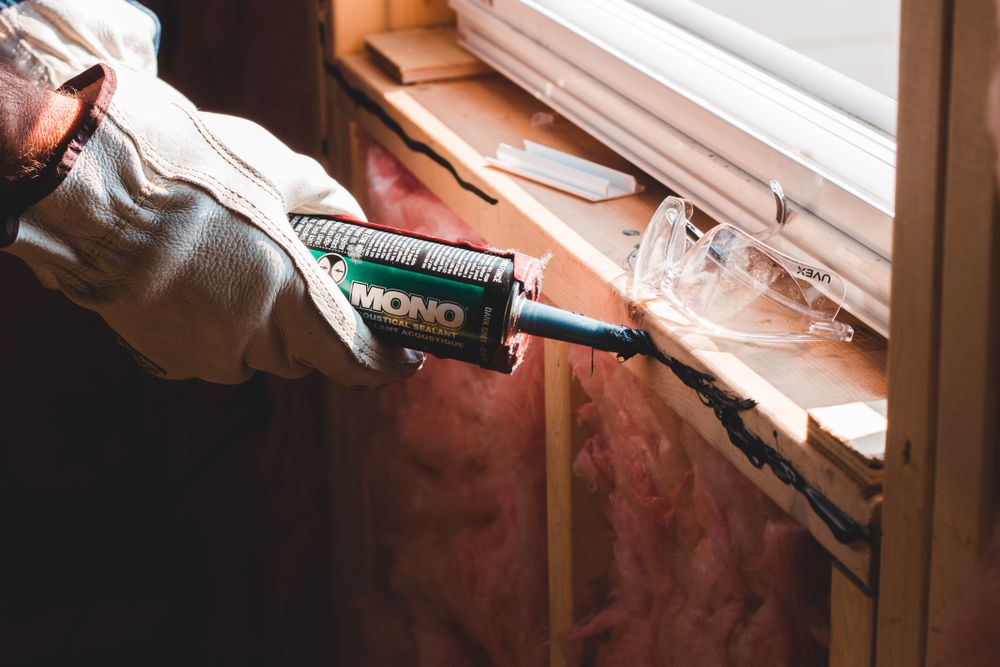
SaveFresh caulk is the highest-value-per-dollar job in a house. A $6 tube and twenty minutes takes a bathroom from grimy to clean-looking, and it's the difference between trim that looks installed and trim that looks nailed on.
It's also the job people most often do twice, because they skip one step and use the wrong product.
What caulk is actually for
Caulk seals the gap between two different materials — tub and tile, trim and wall, countertop and backsplash — where the two move independently and a rigid filler would crack.
What it is not for:
- Grout lines. Tile-to-tile gaps get grout. Caulk in a grout line peels and grows mold.
- Structural gaps. A half-inch hole is a filler or backer-rod job, not a caulk job.
- Hiding damage. Caulk over rot or a moving crack just hides it while it gets worse.
Choosing the tube (this is where it goes wrong)
- 100% silicone — showers, tubs, sinks, anywhere with standing water. Waterproof and flexible. It cannot be painted, so never use it on trim you plan to paint.
- Siliconized acrylic latex ("painter's caulk") — trim, baseboards, crown, gaps around door frames. Paintable, easy to smooth, cleans with water. Not for wet areas.
- Kitchen and bath acrylic — the trap. It's paintable and mold-resistant, but in a shower that gets used daily it fails much sooner than silicone. In a wet area, choose silicone.
Look for "mold and mildew resistant" on anything going in a bathroom, and check the cure time on the label — it decides when you can shower again.
 Save
SaveRemove the old caulk first — all of it
This is the step that gets skipped, and it's why re-caulk jobs peel within months. New caulk does not bond to old caulk.
- Score both edges of the old bead with a utility knife or a plastic caulk removal tool.
- Pull the bead out in strips. A dedicated remover softens stubborn silicone if it fights you.
- Scrape the residue, then wipe the joint with rubbing alcohol and let it dry completely.
- If there's mold in the joint, clean it and let it dry fully — a day if the area stays damp. Caulking over a wet joint traps moisture and grows mold behind the new bead.
 Save
SaveCutting the tip: smaller than you think
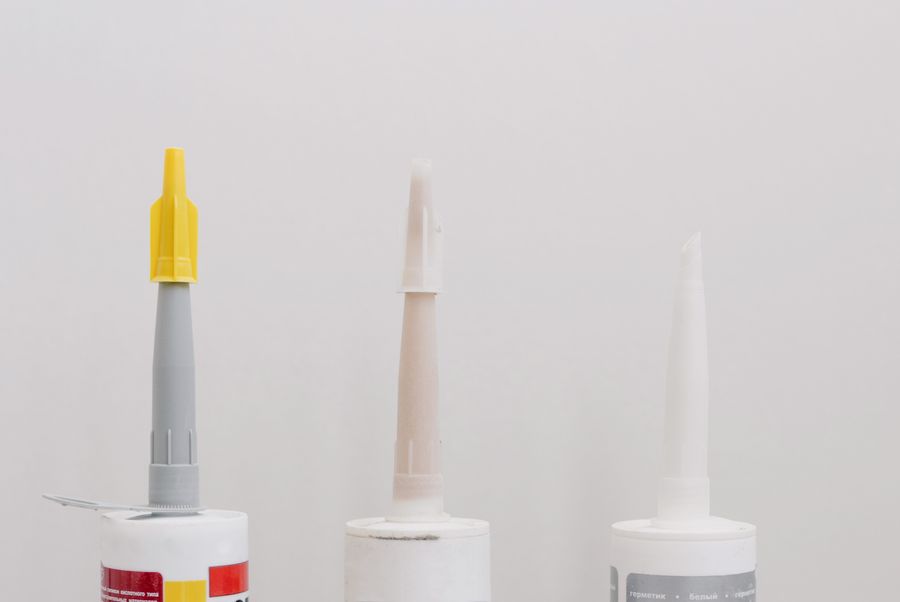
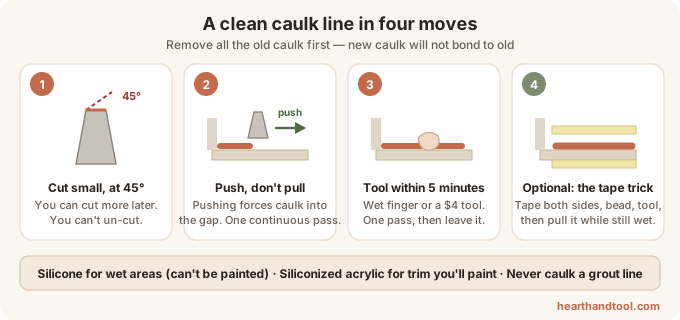
Cut the nozzle at a 45-degree angle, and start with a hole smaller than the gap you're filling. You can always cut more; you cannot un-cut. Most beginners cut a huge opening and end up with a bead they can't control.
Then puncture the inner seal with the wire on the gun or a long nail — the tube won't flow until you do.
The bead: push, don't pull
Hold the gun at roughly 45 degrees and push the nozzle along the joint rather than dragging it behind you. Pushing forces caulk into the gap; pulling lays it on the surface.
Move at a steady speed with steady trigger pressure, and do the whole run in one continuous pass if you can. Stopping and restarting is what creates lumps. Release the trigger a moment before the end of the run, since the tube keeps flowing.
Tool it within five minutes
Smoothing ("tooling") is what makes the line look professional. Do it before the surface skins over:
- A wet fingertip is the classic tool and works well. Dip it in water with a drop of dish soap.
- A caulk finishing tool ($4) gives a more consistent radius, especially in tub corners.
One pass, steady pressure, then wipe the excess off your finger onto a rag. Going back over a tooled bead repeatedly is what leaves ridges.
The tape trick for perfect lines: run painter's tape along both sides of the joint about 1/8 inch from the gap, lay the bead, tool it, then pull the tape immediately while the caulk is wet. You get two razor-sharp edges with no skill required.
 Save
SaveThen leave it alone
Check the tube for cure time — typically 24 hours before water exposure for silicone, sometimes 12. Showering the same evening is how a beautiful new bead turns cloudy and fails.
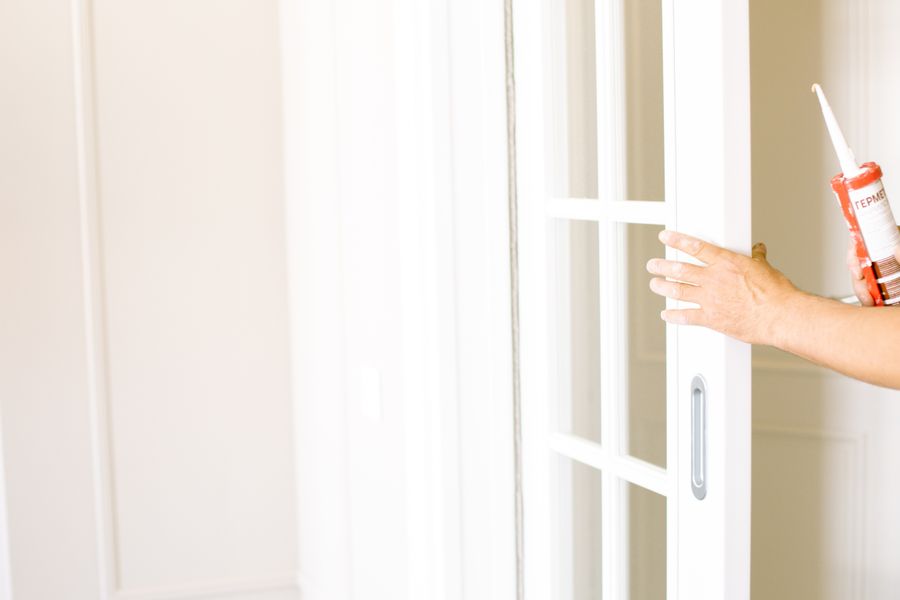
For painter's caulk on trim, you can usually paint over it in 30 to 60 minutes, which is why it's the last prep step before painting trim and doors.
What it costs
A tube of quality silicone is $6–9, painter's caulk $3–5, a decent caulk gun $12, and the finishing tool $4. Under $30 for everything, and the gun lasts a lifetime. It's one of the eight-tool-adjacent purchases worth making early — see our beginner tool kit for the rest.