 Save
SaveA squeaky floor sounds like a house problem. It's almost always a fastener problem, and it's usually fixable in an afternoon with parts that cost less than lunch.
Here's what's happening under your feet, and the right fix for each situation.
Why floors squeak
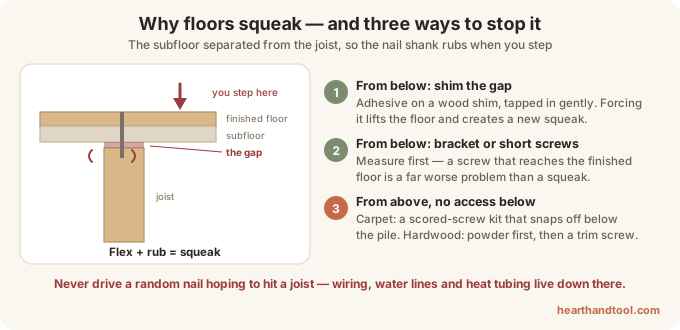
Your floor is built in layers: joists (the beams), the subfloor screwed or nailed on top of them, and your finished floor above that. Over years, wood shrinks and nails loosen, leaving a tiny gap between the subfloor and the joist. Step on it, the subfloor flexes down, and the nail shank rubs against the wood — that's the sound.
Two less common causes: hardwood boards rubbing against each other (a lighter, higher-pitched squeak that moves along the boards), and pipes or ducts touching framing (a squeak that doesn't line up with your steps).
Notice the seasonality: almost every floor gets noisier in dry winter months when the wood shrinks. That's normal and it's not damage.
 Save
SaveStep 1: find it exactly
Walk the area slowly in socks while someone else listens from below, or listen yourself with the room quiet. Mark each squeak with painter's tape. Then figure out two things:
- Can you reach the floor from below? An unfinished basement or crawlspace makes this a much better repair.
- What's on top? Carpet, hardwood, laminate and tile each change the from-above options.
Fix A: from below (the best repair)
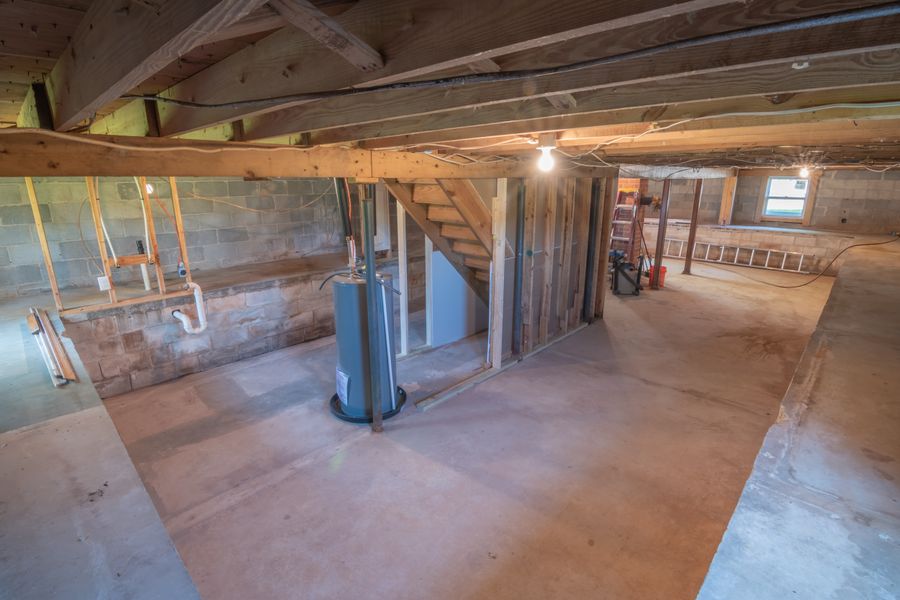
If you can see the underside of the subfloor, you can fix the squeak permanently without touching the finished floor.
- Have someone step on the squeak while you watch. You'll usually see the subfloor lift slightly off the joist.
- Shim the gap. Put a bead of construction adhesive on a wood shim and tap it gently into the gap — gently. Forcing a shim in lifts the floor and creates a new squeak or a hump upstairs.
- For a wider separation, screw a squeak-eliminating bracket (about $3 each) to the joist and the subfloor, or drive short screws up through the joist into the subfloor.
The critical detail: screws driven upward must be short enough that they never reach the finished floor. Measure the subfloor thickness, subtract, and buy accordingly. A screw tip poking through hardwood is a much worse problem than a squeak.
 Save
SaveFix B: from above, under carpet
There's a purpose-made kit for this (around $20): a special screw with a scored head plus a guide. You drive the screw through the carpet into the joist, then snap the head off below the carpet surface, where it disappears into the pile.
The trick is hitting the joist. Use a stud finder on the floor, or probe with a thin finishing nail through the carpet until you feel solid wood.
 Save
SaveFix C: from above, on hardwood
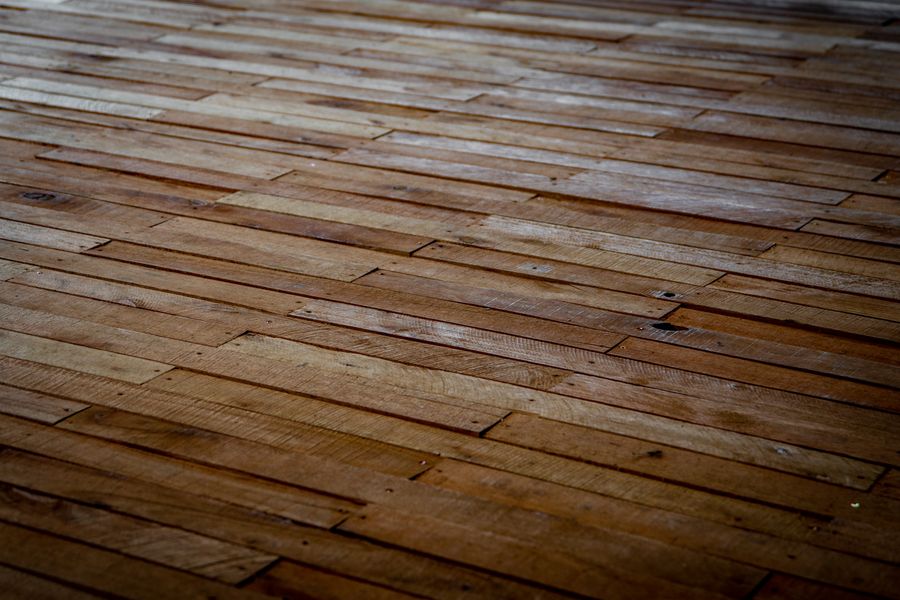
Start with the least invasive option:
- Lubricate the joint. Sweep powdered graphite, talcum powder or powdered soap into the seam between the squeaking boards and work it in with a cloth. This fixes board-on-board squeaks and costs almost nothing. It's not permanent — expect months, not years.
- Trim-head screws. For subfloor separation, drive a trim screw at a slight angle through the hardwood into the joist, countersink it, and fill with matching wood filler. Effective and permanent, but you'll see a small filled dot up close.
Never drive a random nail through a floor hoping to hit something. Below your subfloor there may be wiring, water lines or radiant heat tubing.
What it costs
Shims and adhesive: about $12. Squeak brackets: $3 each. A carpet squeak kit: about $20. Powdered graphite: $5. Compare that to a handyman visit at $100–200 for the same work.
When it's not a squeak problem
Call a professional if the floor bounces or feels springy underfoot over a wide area, if you see a visible dip or slope, or if squeaks appear suddenly across the whole house along with sticking doors. Those are framing or foundation signs, and no amount of shimming addresses them. (Our door guide covers the same warning from the door side.)