 Save
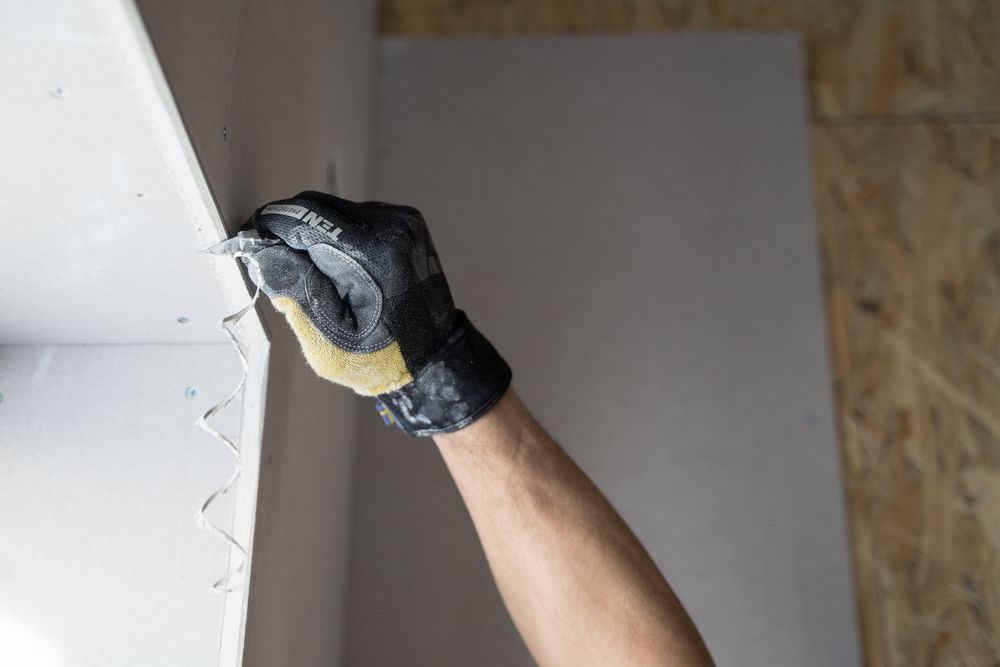
SaveEvery wall collects wounds: nail holes from old picture frames, doorknob craters, the mystery dent nobody admits to. The good news is that drywall is one of the most forgiving materials in your house — patched correctly, the repair is genuinely invisible.
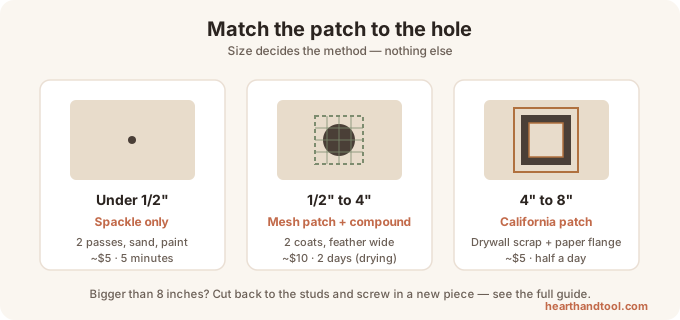
The mistake most people make is using one technique for every hole. The right method depends entirely on size, so find your hole below and follow that recipe.
 Save
SaveNail and screw holes (under 1/2 inch)
This is a five-minute job, and you don't need a repair kit.
- Press the edges flat. If the nail pushed a small ridge of paper outward, tap it gently with the handle of your putty knife or sand it flush.
- Wipe a thumb-sized dab of lightweight spackle across the hole with a putty knife, pressing it in, then scrape flush with the wall.
- Let it dry 30–60 minutes. If it shrinks into a dimple (common), apply a second thin pass.
- Sand lightly with 220-grit, wipe off the dust, and touch up with paint.
Skip the "toothpaste trick" you may have seen online. It shrinks, cracks, and yellows through paint. A small tub of spackle costs about $5 and patches a hundred nail holes.
Small holes (1/2 inch to 4 inches): the mesh patch
 Save
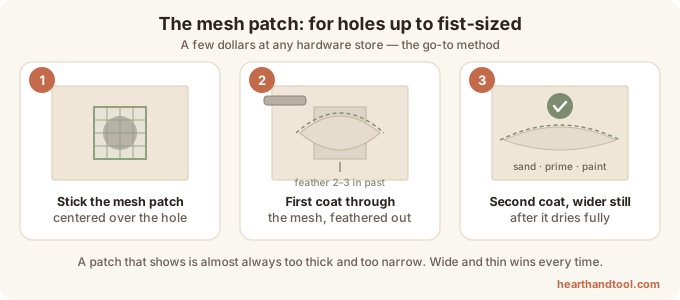
SaveFor anything up to roughly fist-sized, use a self-adhesive mesh patch — a stiff aluminum-and-mesh square sold for a few dollars at any hardware store.
- Sand around the hole lightly so the patch adheres well, and stick the mesh patch centered over it.
- With a 6-inch drywall knife, spread joint compound over the patch, pressing through the mesh, and feather it 2–3 inches past the patch edges.
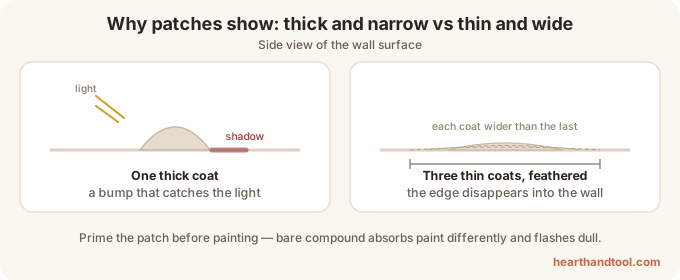
- Let it dry fully (follow the tub — usually 24 hours), then apply a second, wider coat, feathering further out. The secret to an invisible patch is a wide, thin feather — a patch that fails inspection is almost always too thick and too narrow.
- Sand smooth with 150–220 grit, prime the patch, and paint.
 Save
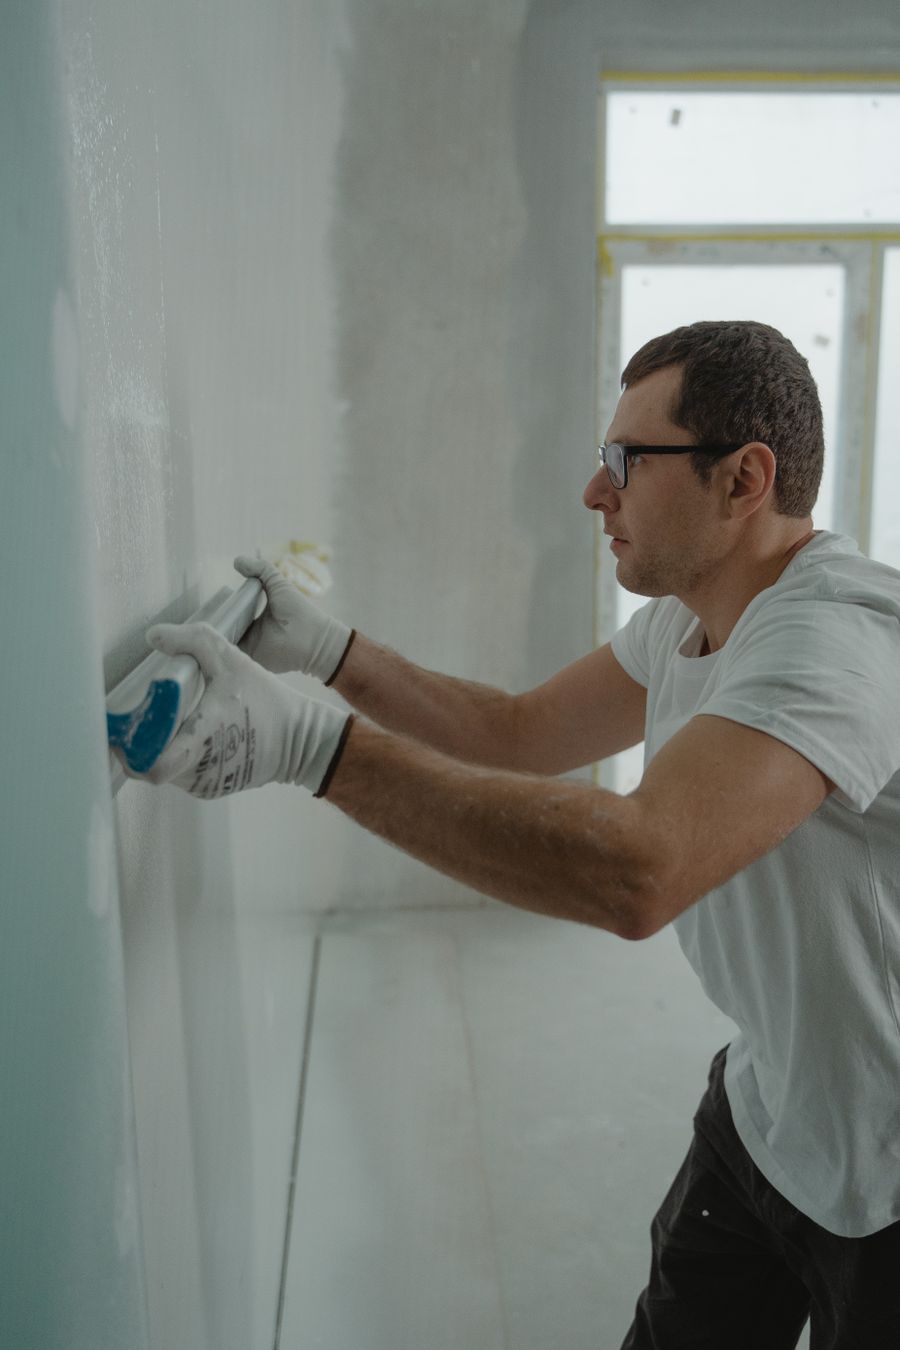
SavePriming matters: joint compound absorbs paint differently than the surrounding wall, and an unprimed patch shows as a dull "flash" mark under side lighting even when perfectly smooth.
Medium holes (4 to 8 inches): the California patch
 Save
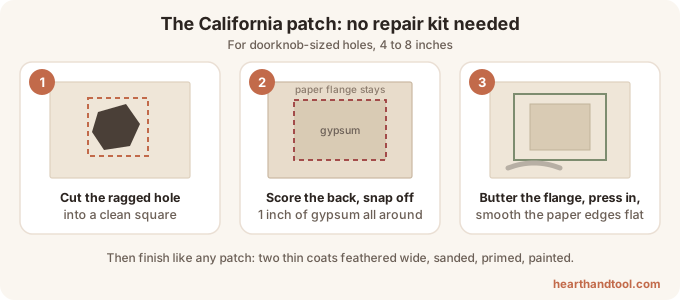
SaveDoorknob territory. No studs, no repair kit — just a scrap of drywall.
- Cut the ragged hole into a clean square with a drywall saw or utility knife.
- Cut a drywall scrap 2 inches bigger than the square in both directions. On its back, score and snap off the outer 1 inch of gypsum only, keeping the front paper intact — you end up with a plug that fits the hole, wearing a paper "flange" all around.
- Butter the flange with joint compound, press the plug into the hole, and smooth the paper edges down like a sticker.
- Coat, feather, dry, second coat, sand, prime, paint — same finishing sequence as the mesh patch.
This repair costs almost nothing if you can scavenge a drywall scrap (many stores sell 2×2 ft handy panels for a few dollars).
Large holes (8 inches and up)
Now you're replacing a section: cut back to the centers of the nearest studs on each side, screw in the new piece, tape the seams with mesh tape, and do three feathered coats. It's the same skills as above, just more of them — a very doable weekend project, but if the hole involves electrical wiring or plumbing behind the wall, look before you cut. A $15 stud finder with AC detection tells you what's hiding there.
The finishing rule that makes any patch invisible
 Save
SaveWhatever the size: two or three thin coats always beat one thick one, each coat feathered wider than the last, sanded only after fully dry, then primed before painting. Follow that sequence and even a doorknob crater disappears completely.
If the wall's paint is more than a few years old, consider repainting the whole wall rather than spot-touching — aged paint shifts color slightly, and a fresh touch-up dab can show. Our Paint Calculator tells you exactly how much you'd need.