 Save
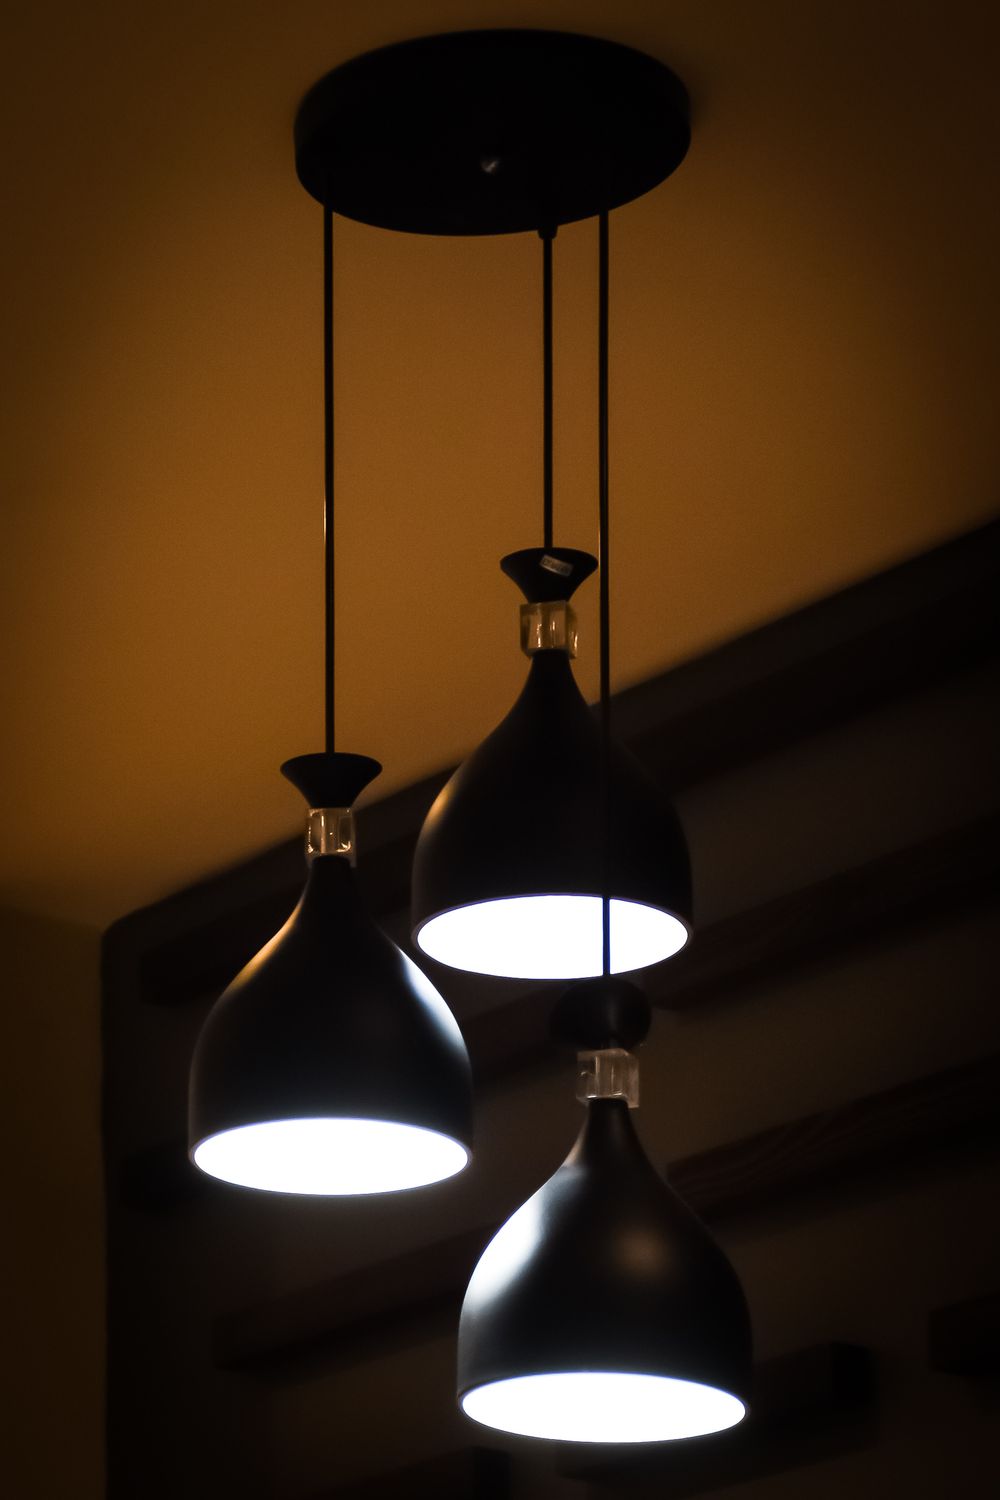
SaveHere's a test: think of the most inviting home you've ever walked into. Now think of the most depressing rental. Odds are the furniture mattered less than you think — and the light mattered more than almost anything. Warm pools of lamplight versus one cold ceiling glare is the difference between a wine bar and a waiting room.
Lighting is also the most fixable thing in your house. Five swaps, easiest first.
Swap 1: The bulbs (10 minutes, $10–30)
 Save
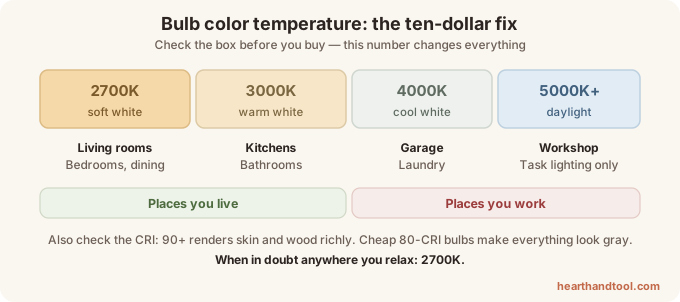
SaveThe single highest return-on-effort upgrade in this entire site. Check your bulbs: if they say 4000K, 5000K or "daylight," they're why your living room feels like a dentist's office.
The cheat sheet:
- 2700K ("soft white") — the warm standard. Living rooms, bedrooms, dining. When in doubt: 2700K.
- 3000K ("warm white") — slightly crisper. Kitchens and bathrooms where you want warm but functional.
- 4000K+ ("cool/daylight") — garage, workshop, laundry. Places you work, not places you live.
- Watch the CRI number when buying: 90+ renders skin and wood tones richly; the cheap 80-CRI bulbs make everything slightly gray.
Replace every cold bulb in the living spaces today. It's the closest thing home improvement has to a cheat code.
Swap 2: Add lamps — the rule of three (free reshuffle to $80)
Rooms feel layered when light comes from three heights: something low (table lamp), something mid (floor lamp or wall sconce), something high (the ceiling you already have — dimmed or often just off). One overhead source flattens everything; three warm sources at different heights create the depth that makes rooms photograph like magazines.
You may already own the lamps — they're just clustered in the wrong rooms.
Swap 3: Plug-in sconces and picture lights (20 minutes, $25–60)
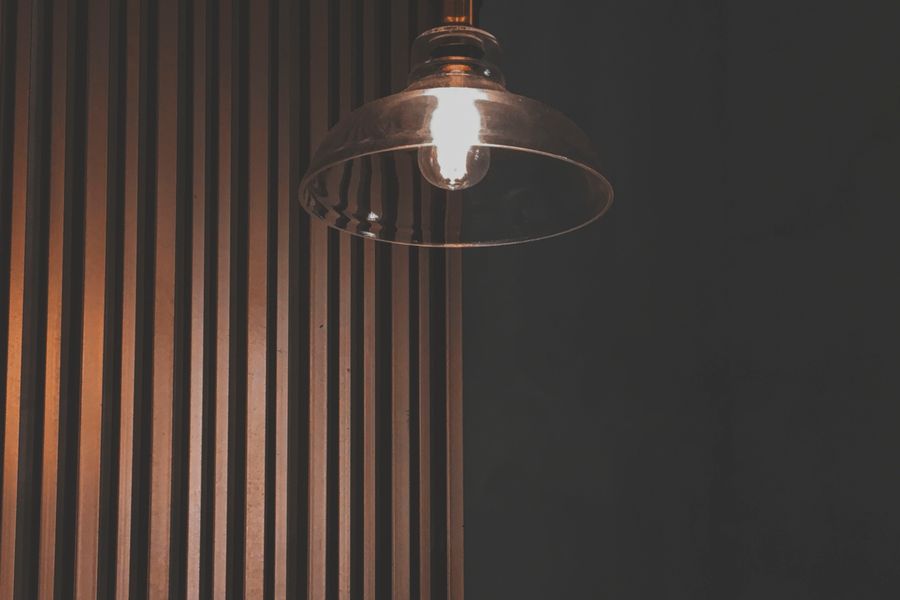
The secret of designer bedrooms and reading nooks: sconces that just... plug in. A cord-and-plug wall sconce mounts with two screws (or heavy-duty adhesive hooks in a rental), the cord drops discreetly to an outlet, and suddenly there's bedside light that doesn't eat nightstand space. Plug-in picture lights over art do the "gallery at dusk" effect for $30.
 Save
SaveSwap 4: Smart plugs for the evening scene (15 minutes, $20–40)
Put the lamps on smart plugs, group them as "Evening," and schedule sunset-on. Walking into a house that's already warmly lit is a small daily luxury that costs less than a pizza. (This is also the move that makes the kitchen-counter lamp from our countertop styling guide effortless.)
Swap 5: Replace the actual fixture (30 minutes, $40–150)
 Save
SaveThe boob light. Every rental has one. Replacing it with a fixture you chose is a legitimate DIY job:
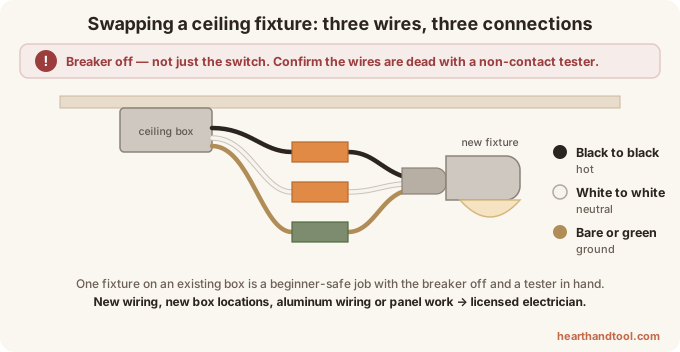
- Breaker off — not just the switch. Confirm dead with a $12 non-contact voltage tester touched to the wires.
- Unscrew the old fixture; you'll find three wires: black (hot), white (neutral), bare/green (ground).
- New fixture connects the same way: black-to-black, white-to-white, ground-to-ground, twist on the wire nuts, tuck, mount.
- Keep the old fixture in the closet if you rent — it goes back up at move-out.
The honest line: one fixture swap on an existing box is beginner-safe with the breaker off and a tester in hand. New wiring, new box locations, aluminum wiring (pre-1975 homes), or anything at the panel — that's electrician territory, and $150 there is money well spent.
Where to start tonight
Bulbs first. It's ten dollars, it's ten minutes, and it recalibrates what you think your home looks like. Then add the second and third light source to whichever room you sit in most. Save the fixture swap for the weekend the boob light finally breaks you.